
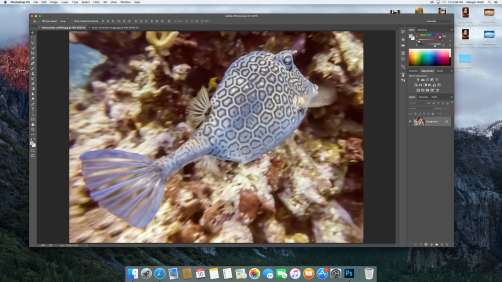
Today I worked on lesson 8 videos on Photoshop One-on-One Fundamentals.
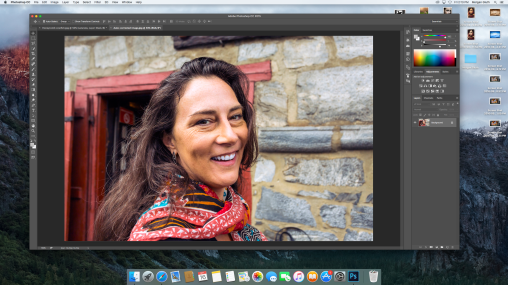
Adjusting Color Intensity with Vibrance
I went to the Adjustments panel and alt clicked on the Vibrance option and named the new layer Saturate.
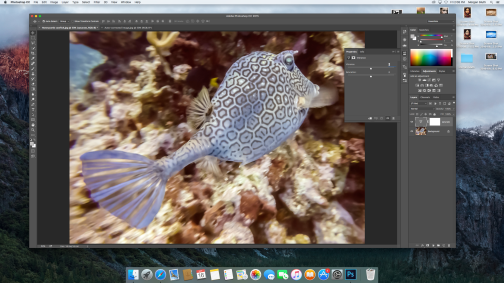
I then used the vibrance properties panel and I took the vibrance value to +100 and saturation to +30.
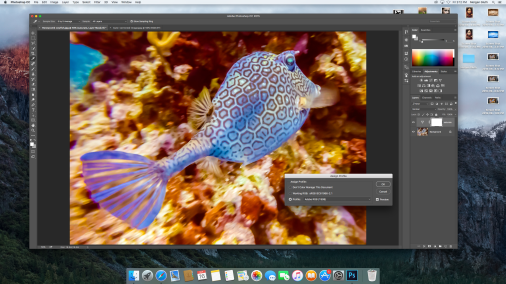
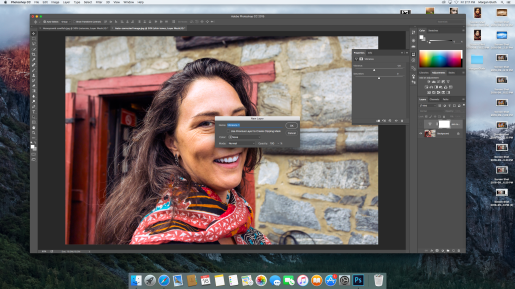
I then went to the Edit menu and selected Assign Profile changed it to Profile and the file to Adobe RGB (1998).
Correcting an Image that has to much Saturation. (*Same Video*)
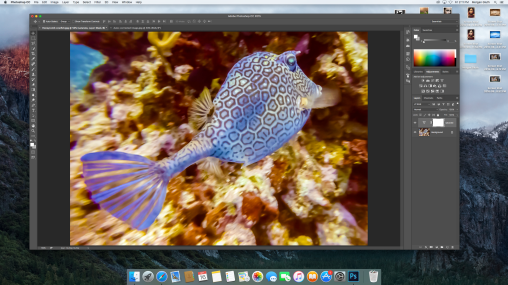
I alt clicked on the Vibrance option on the Adjustments panel and created a new layer called skin tones.
In the properties panel, I used it again, and changed vibrance to -20.

Introducing Hur/Saturation
I first needed to create a new layer for the Hue/Saturation, I alt clicked on the Adjustments panel, I then used the properties panel.
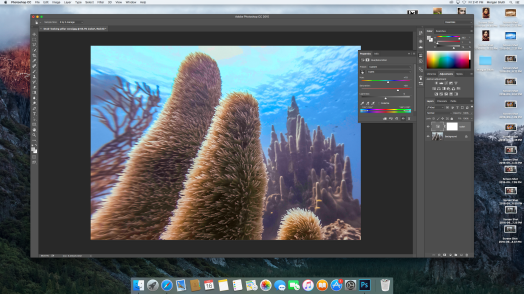
For the Cyans (color) I changed the Hue to +10 and the saturation to +100 using the Targeted Adjustments Tool.
Then for the yellows I used the same tool and I command dragged and changed the Hue to -20.

Excellent work!
LikeLike